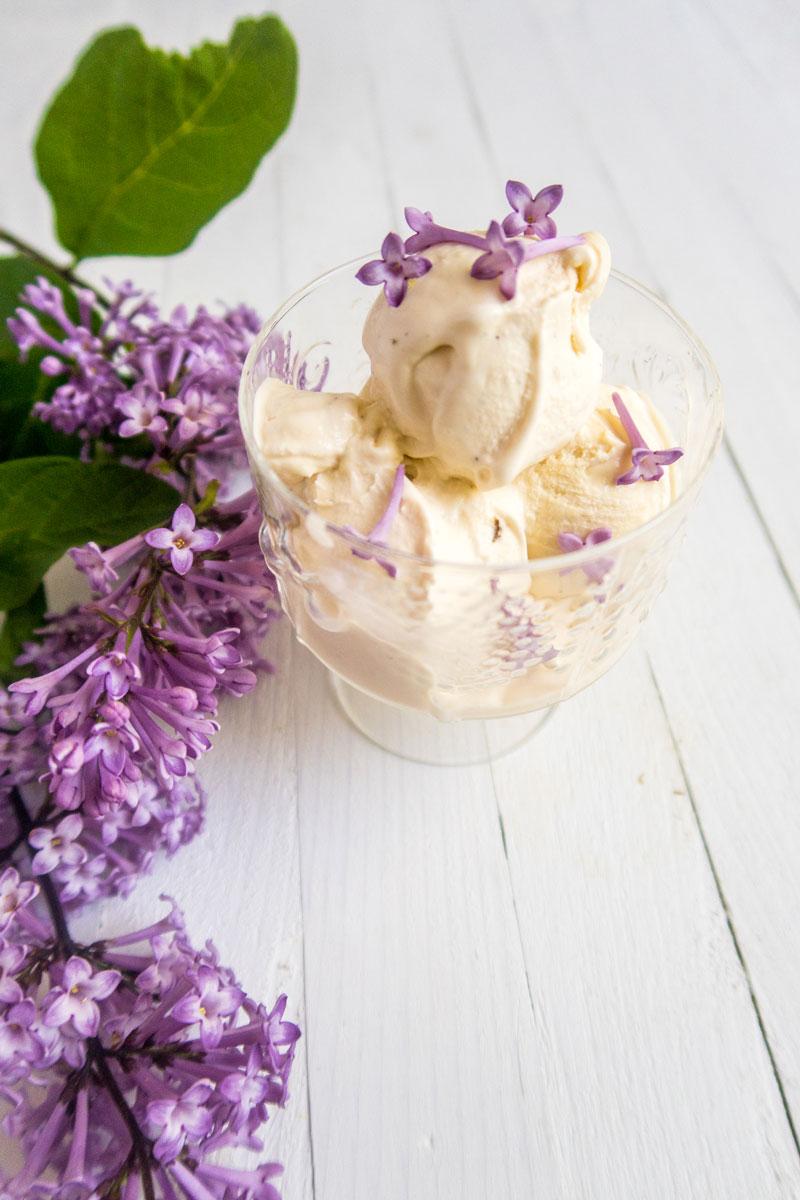
Homemade Vanilla Ice Cream
Homemade classic vanilla ice cream tastes great, and you can make it healthy and refined sugar-free.

Nothing beats good old vanilla ice cream!
Or perhaps chocolate ice cream could, but vanilla ice cream is kind of a mother of all ice creams, and it’s hard not to like it.
This fantastic homemade ice cream is incredibly easy to make, and it tastes amazing!
Usually, ice cream is made from “Creme Anglaise”, vanilla custard. Eggs give the ice cream a perfect consistency, and for that reason, it freezes without crystallizing, keeping it as smooth as silk.
Having said that, making vanilla custard and letting it cool down takes a lot of time, and therefore I’ve made a shortcut in my recipe, and I didn’t cook the eggs.
I’m known to be a slightly lazy cook who prefers to manage any recipe with a bowl and a fork. However, this homemade ice cream requires a little bit more than a fork, but it’s still not difficult and doesn’t take a lot of active preparation time.

The ingredients and equipment you need:
- eggs
- whipping cream
- vanilla pod
- maple syrup or honey
- an electric whisk will make thing much easier
- ice cream machine (or that fork I mentioned earlier on!)
- a freezer-proof container that is big enough for the ice cream
Ingredient substitutions
Maple syrup can be substituted with honey or erythritol. Erythritol is sugar-free so feel free to use it more.
how to make ice cream
About raw eggs
All you need to do here is whisking and folding in.
Please note that this recipe uses raw, uncooked eggs. If you are not sure (or even know) that the eggs in your area are safe to use raw, you should find a different approach to make homemade ice cream, cook a vanilla custard first.
If you are confident using raw eggs, this recipe is a real time-saver.
Preparation steps
First, beat the eggs until they are airy and pale in color, like when making a cake.
Then, whip the cream with the seeds of one vanilla pod until soft and fluffy.
The easiest method to get the seeds out of a vanilla pod is to cut it in half lengthwise with the tip of a sharp knife and scoop the seeds out with a spoon or a knife.
Pour the fluffy eggs into the whipped cream, add maple syrup, and then carefully fold the two mixtures together until they are well combined.
Prepare the ice cream churner and pour the ice cream mixture in the churner. Follow the instructions of the churner on the churning time, as it might vary quite a lot.
No ice cream machine
No worries, you can make this without an ice cream machine.
Just pour the ice cream mix into a freezer-proof dish. Whisk the mix in every half an hour for four hours. An electric hand mixer is the best, not a hand blender with a single whisk accessory.
No appropriate whisk? Use a fork and elbow grease!
Types of freezer-proof containers
Freezer-proof materials are plastic, pyrex-glass and metal. A small saucepan or aluminum bread tin are great freezer-safe containers. Just remember to line aluminum dishes with a baking sheet.
Freezer instructions
Homemade ice cream is usually at it’s best straight from the churner. Or, if made without a churner, right at the point when it’s set enough to be called ice cream.
This recipe makes a big batch of ice cream that you might not be able to consume all at once. Keep the leftover ice cream or pre-made ice cream in the freezer.
It keeps well covered up to 3 months.

How to adjust the servings and units
You can easily change the quantities of the ingredients to match your ice cream machine’s capacity using the slider on the recipe card below. Also, the units used in the recipe can be converted to match your territory better.
IMPORTANT EDIT
There is something wrong with the unit converter on the recipe card. While I try to figure it out and fix it, you’ll find the UK and US units in the comments below the post.
Check your ice cream machine’s instructions before starting to make the recipe to make sure you have the quantities right.
The sugar in this recipe
I choose to use maple syrup for this recipe.
Maple syrup has a nice, mild taste that goes great with vanilla. For me, even the 1/4 cup I used was a little too much of sweetness so I suggest you add it gradually.
Maple syrup is about 70 % sugar. It contains quite a lot of zinc and manganese.
More cooling, healthy ice cream recipes:
- Peanut Butter Ice Cream Popsicles
- Berry Ice Cream Popsicles
- Peanut Butter Strawberry Popsicles
- Pumpkin Pie Cream Cheese Ice Cream
Homemade vanilla ice cream
Equipment
- a couple of bowls
- an electric whisk
- ice cream machine, optional
Ingredients
- 2 eggs
- 4 dl whipping cream
- 1 whole vanilla pod
- 0,5 dl maple syrup
Instructions
- Whisk the eggs in a large bowl until pale in color and fluffy. Make sure the mixture is as fluffy as possible, like if you were making a cake mix.
- Pour the cream into another bowl. Split the vanilla pod down its length and scoop out the seeds with a teaspoon. Add them to the cream.
- Whisk the cream and vanilla until fluffy.
- Transfer the whisked eggs to the cream and vanilla mix and add the maple syrup. Mix.
- Churn the mixture in the ice cream machine as instructed by the manufacturer.
Tips
No worries, you can make this without an ice cream machine.
Just pour the ice cream mix into a freezer-proof dish. Whisk the mix in every half an hour for four hours. An electric hand mixer is the best, not a hand blender with a single whisk accessory.
No appropriate whisk? Use a fork and elbow grease! Freezer-proof materials are plastic, pyrex-glass and metal. A small saucepan or aluminum bread tin are great freezer-safe containers. Just remember to line aluminum dishes with a baking sheet. I found that my taste buds would have been happy with less maple syrup so you could add maple syrup in stages, a spoonful at the time until satisfied with the sweetness level.

